How to use it
How to cut, finish and glue Taskboard
Cut it, sand it, glue it. Form it last, if you need a curve.
Cutting
Half the density of chipboard or museum board, so a blade cuts it more easily. Scissors cut the thin sheet; a craft knife cuts them all.
- Scissors: cut the 1/32" sheet like heavy paper. Thicker sheets need a blade.
- Craft knife: use a utility blade for 1/32", 1/16" and 1/8". Make a light first pass, then cut through.
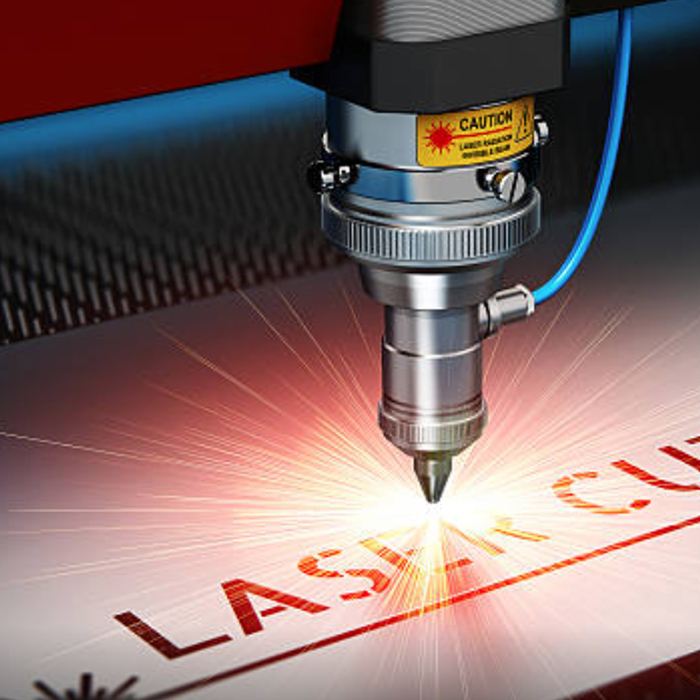
- Laser: it cuts faster than other materials and leaves minimal light-colored scorch marks. Every laser is different. Cut a row of small circles, each with its setting etched beside it, and use the first circle that cuts fully through.
- Etching: white etches cleanly.
Finishing
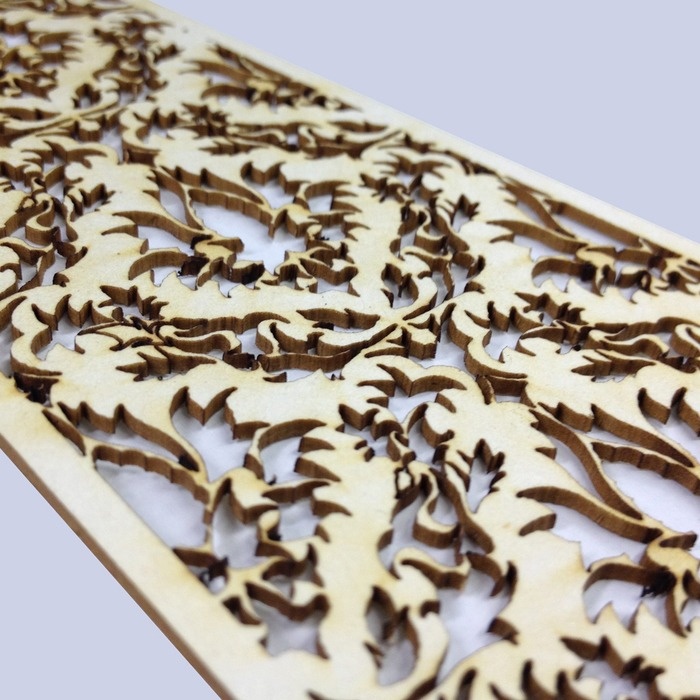
Taskboard paints smooth, and its edges sand like wood.
- Sanding: the edges sand like wood.
- Embossing: clamp a leaf or flat object between boards.
- Painting: it paints smooth.
- Markers and crayons work.
Gluing
White glue, craft glue or Sobo on dry pieces. Hot glue works too.
Also forms, if you need a curve
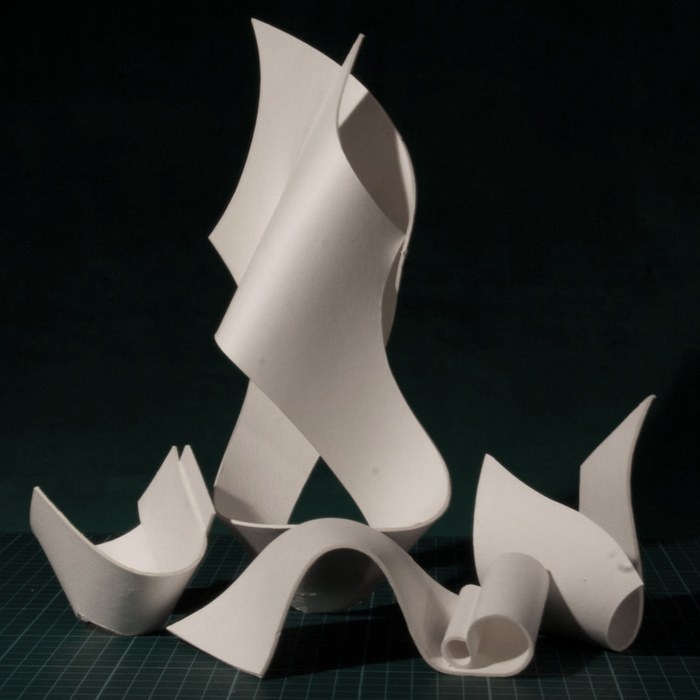
Most people never need it. If you do, water makes Taskboard bend, and it turns rigid again when dry. The 1/32" and 1/16" sheets form. The 1/8" sheet is non-forming.
- Spray both sides of the sheet lightly with water.
- Knead the sheet gently, or wrap it around a cylinder first.
- Shape it. For complex shapes, mask the areas you do not want wet.
- Hold the shape with string, rubber bands, clips or hot glue until it is rigid. A hair dryer or a room fan speeds drying.
- Put small scraps under clips to avoid dents.
- Tubes: wrap a damp strip around a dowel and tape it.
- Hot glue works on damp board.
- Frayed edges from over-wetting: inject white glue to repair them.
Ready to try