Grades 2–5
Crayon and glue cut-shape sculpture
- Grade band:
- Grades 2–5
- Tool:
- Scissors. 1/32" is the only thickness that scissors cut.
- Sheet:
- 1/32" white Taskboard. The 10" × 20" sheet is one per student; a 20" × 30" sheet cuts into pieces for a table.
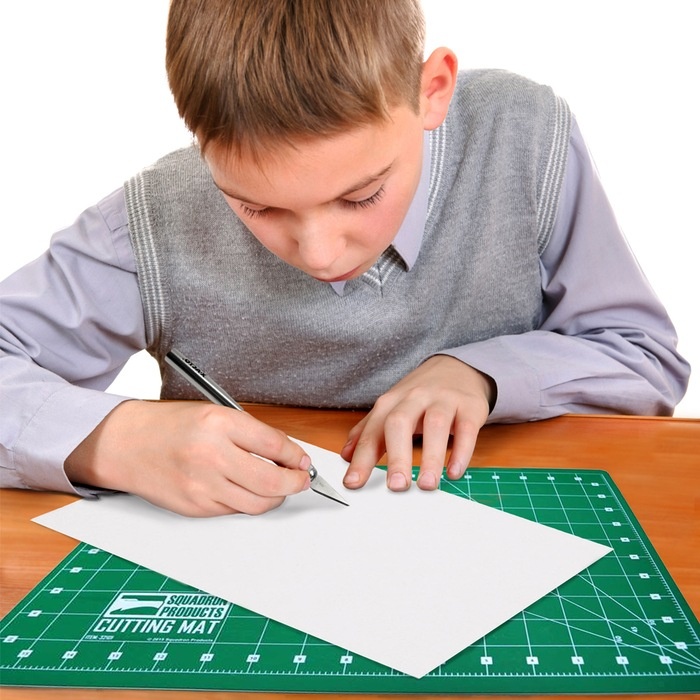
This lesson uses supplies most classrooms already have: wax crayons, waterproof pens and white glue. Students cut their own shapes, color them and build a design on a base.
San Diego art teacher Lesley Koshland notes that the pieces her students come up with are unique. She calls that the beauty of the product.
Based on classroom notes from art teacher Lesley Koshland (San Diego), who taught Taskboard in grades 2, 5 and 6.
Steps
- Cut the shapes. Cut four strips or shapes from the 1/32" sheet with scissors. To help young students, pre-cut around the larger shapes so they cut less. Cutting into a large board is difficult.
- Decorate the front. Draw on the front with waterproof pens. Washable markers do not work for this.
- Color the back. Color the back of each piece with regular wax crayons, using two different crayons.
- Plan the placement. Arrange the pieces on the black foam board before gluing anything. Students plan where each piece goes first.
- Glue. Glue each piece down with white glue and hold it in place for about 30 seconds.
- Check the balance. Check that the design balances. Adjust the placement if it does not.
- Use regular wax crayons and waterproof pens. Washable markers are the wrong choice.
What students learn
- Design and engineering together: Koshland notes there is a balance issue, and calls it a great exercise in both
- Planning placement before committing with glue
- Working with everyday supplies the classroom already owns
More lessons
Keep going
Grades 5–6
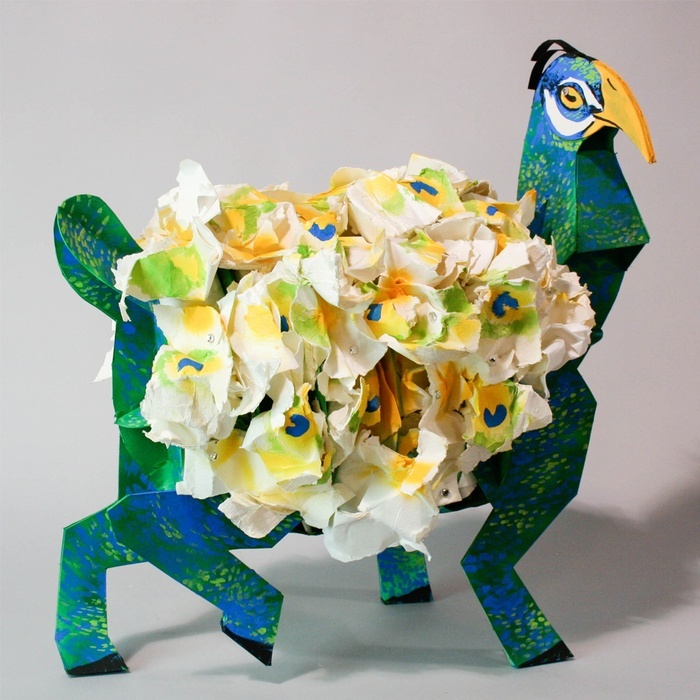
Sound wave group sculpture
A class builds one shared sculpture from scissor-cut shapes. A piece like it was shown at the San Diego Museum of Art.
- Scissors
- 1/32" white Taskboard
Grades 9–12
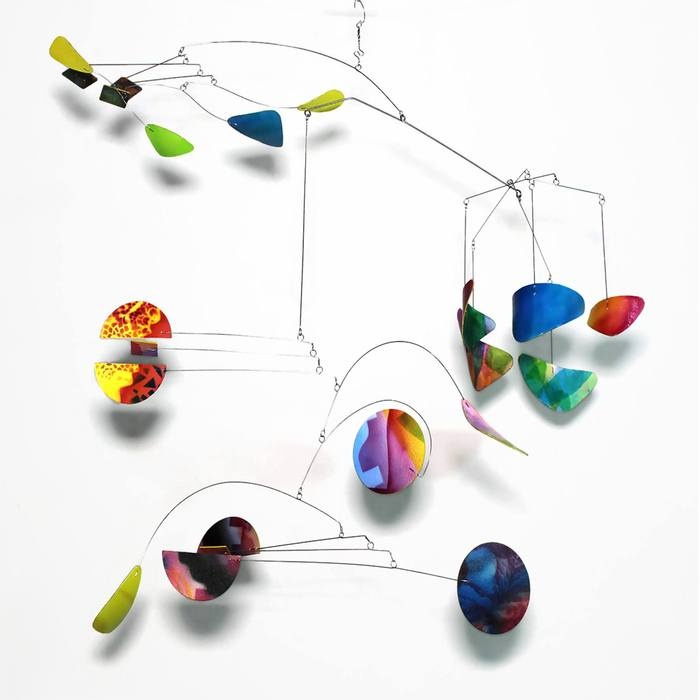
Stabile sculpture, inspired by Alexander Calder
Students design a maquette, then cut, glue and paint a stabile. One sheet serves two students.
- Craft knife
- 20" × 30" sheet, 1/16" thick